

Connecting OpenAI o aplikacji "OpenAI + Pixabay"

Instructions for connecting the OpenAI API to the "OpenAI + Pixabay" application.
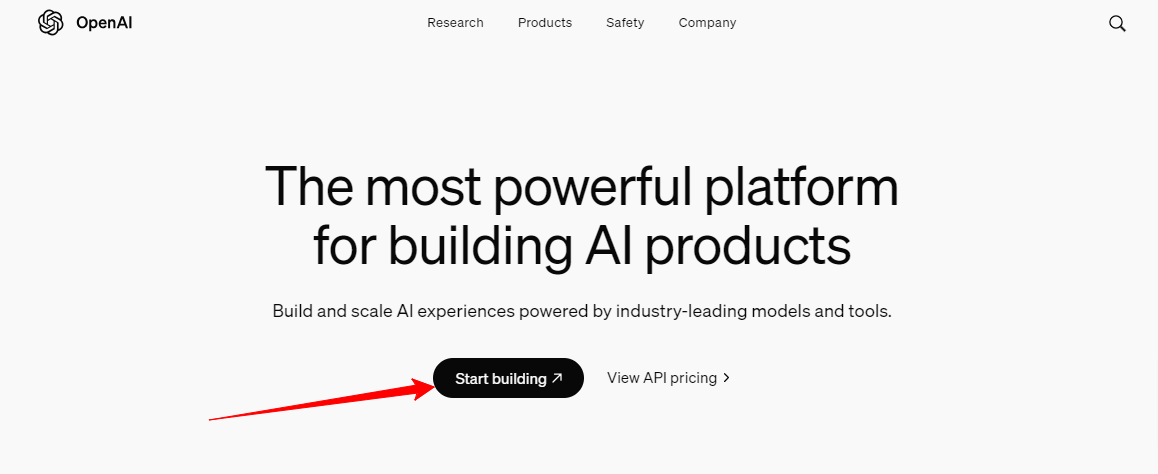
1. Go to the official OpenAI website at https://openai.com/api/
2. Click the "Start building" button:
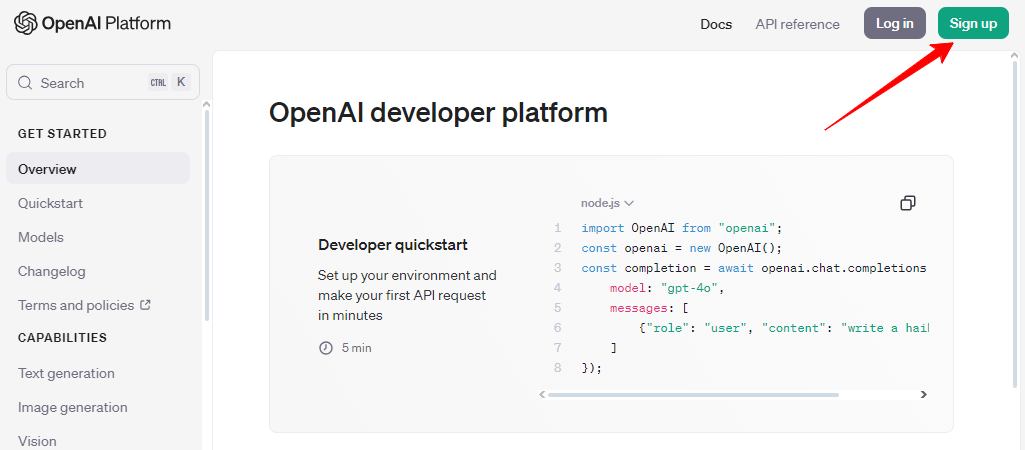
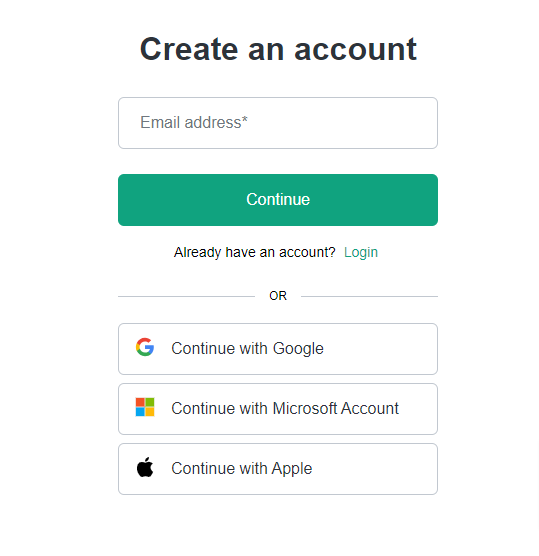
3. Register by clicking the "Sign up" button, then fill in all fields or choose one of the social networks for registration. This will speed up and simplify the process:
4. Confirm your email address, and you will be redirected to your account.
5. Then go to your profile page "Your profile" and select the "User API keys" tab:
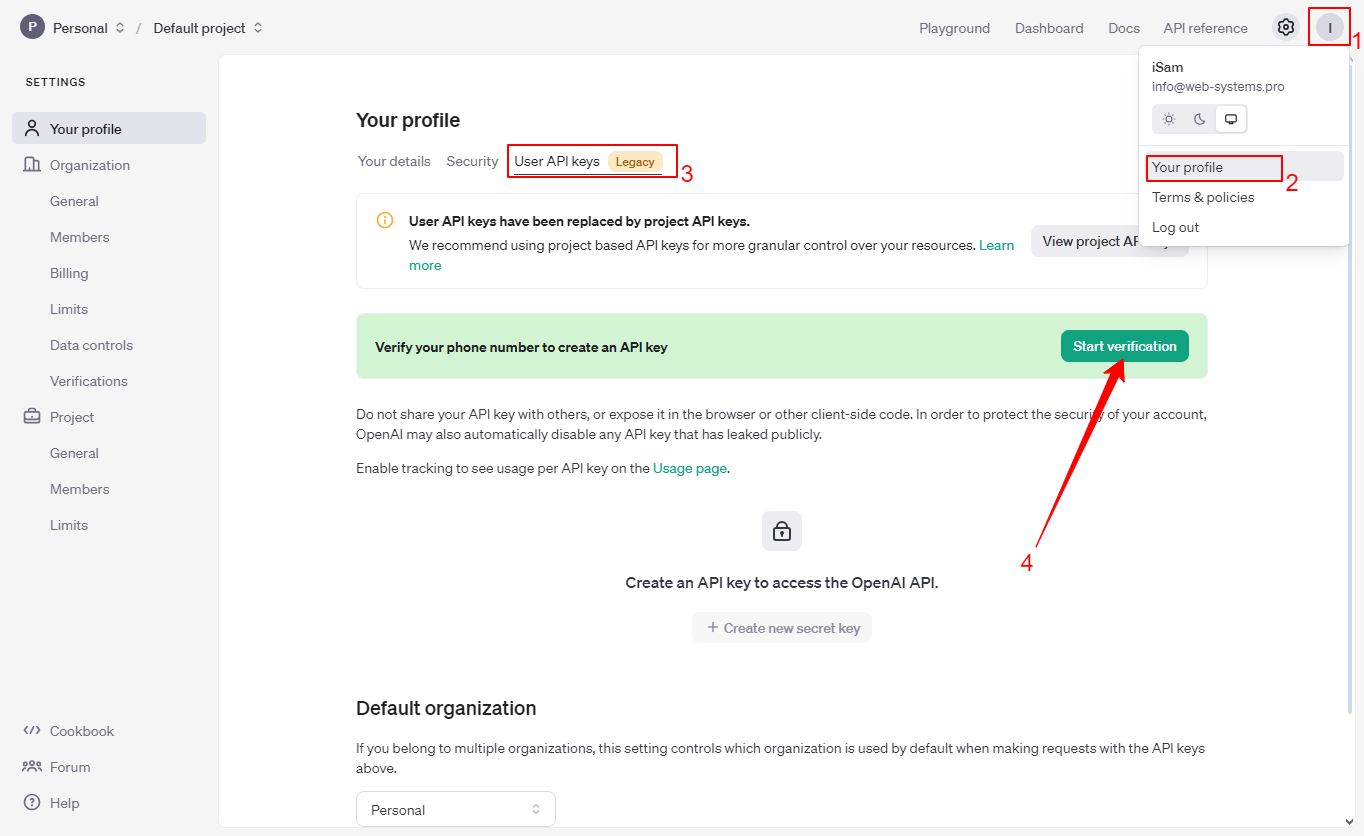
Then you need to verify your phone number:
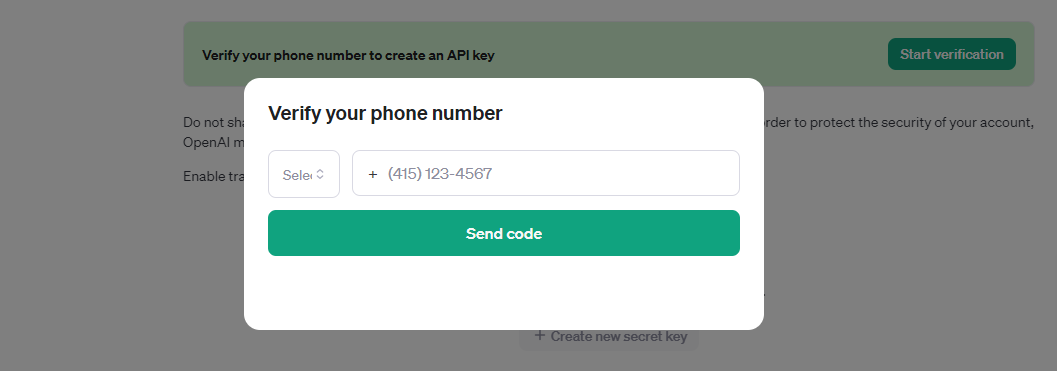
6. Create an API key.
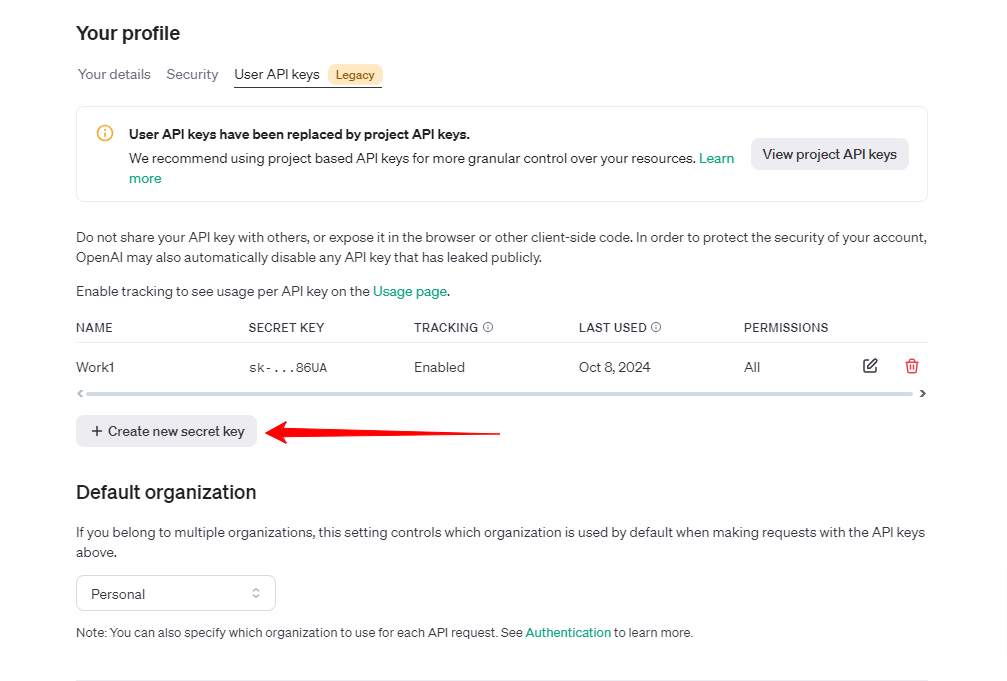
6.1 After confirming your phone number, you can create API keys on this page. Click the "Create new secret key" button:
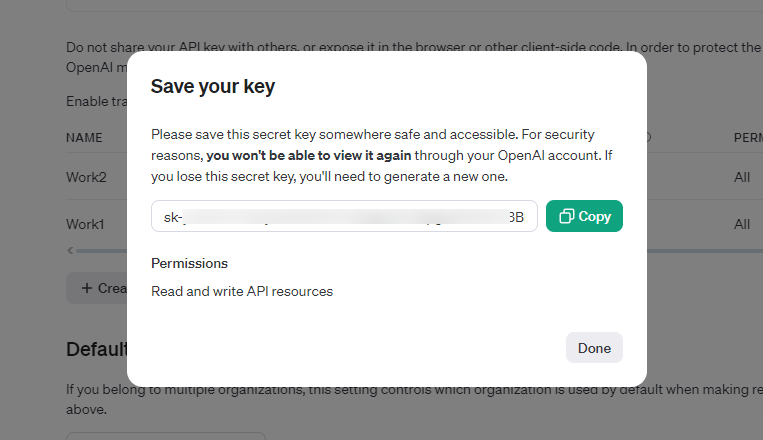
6.2 After clicking the "Create new secret key" button, a pop-up window will appear indicating that the new API key has been successfully created. The API key itself is also displayed in this window. You must copy and save this key, as it will be needed later to connect to the application:
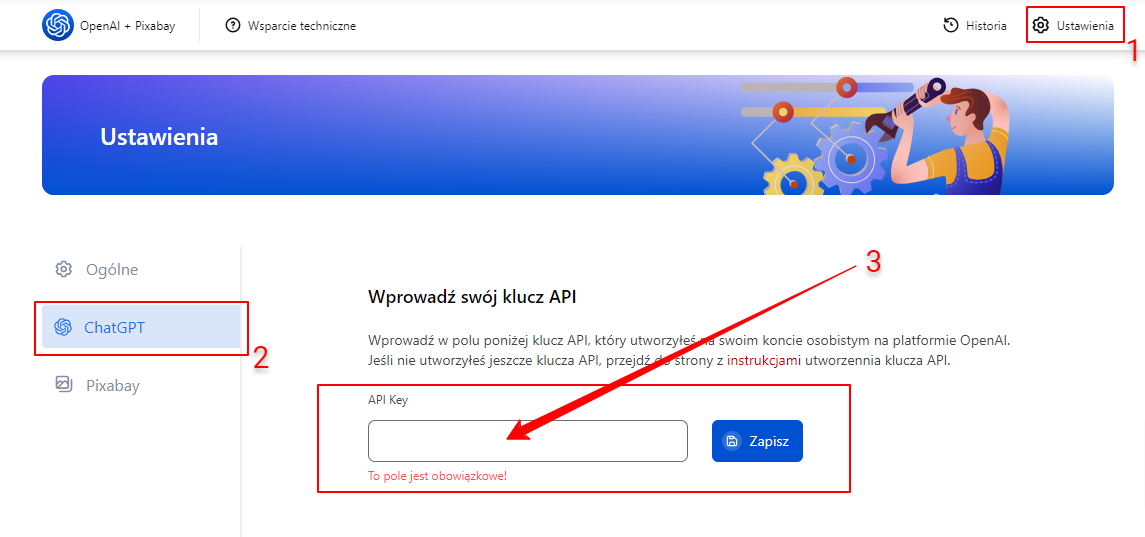
7. Enter the API key in the "OpenAI + Pixabay" application settings.
7.1 Go to the "OpenAI + Pixabay" application settings, paste the API key you created on your personal OpenAI account into the API Key field, and click Save:
7.2 After saving the API key, the input field will be hidden and replaced with a partial API key. To update the API key, you must first remove the old one. Removing the old key is required for security reasons:
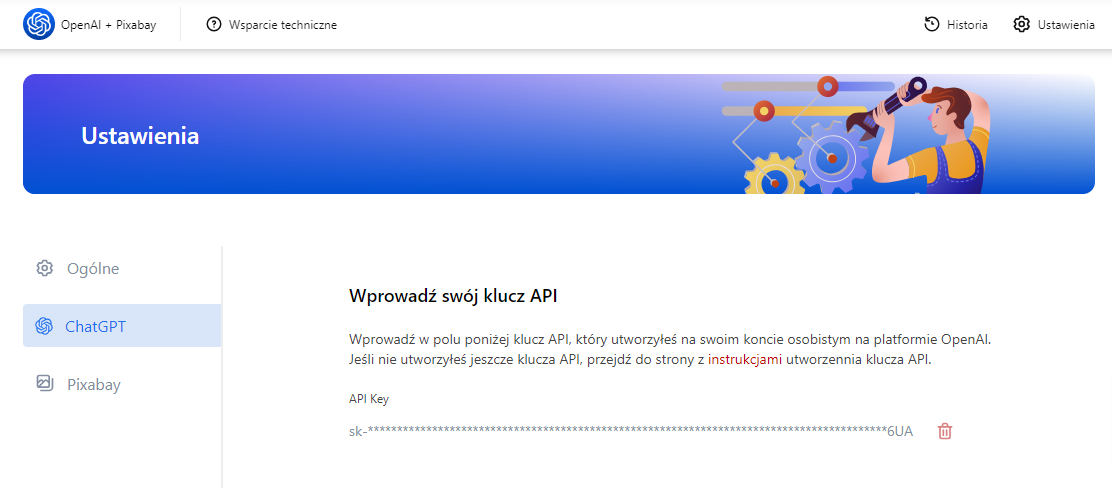
Important! To activate the API key, you must top up your account on the OpenAI service in your personal account with at least 5 USD. Otherwise, the key will not be activated and will display an error in the application!
8. On the same settings page, you can select the default GPT chat model:
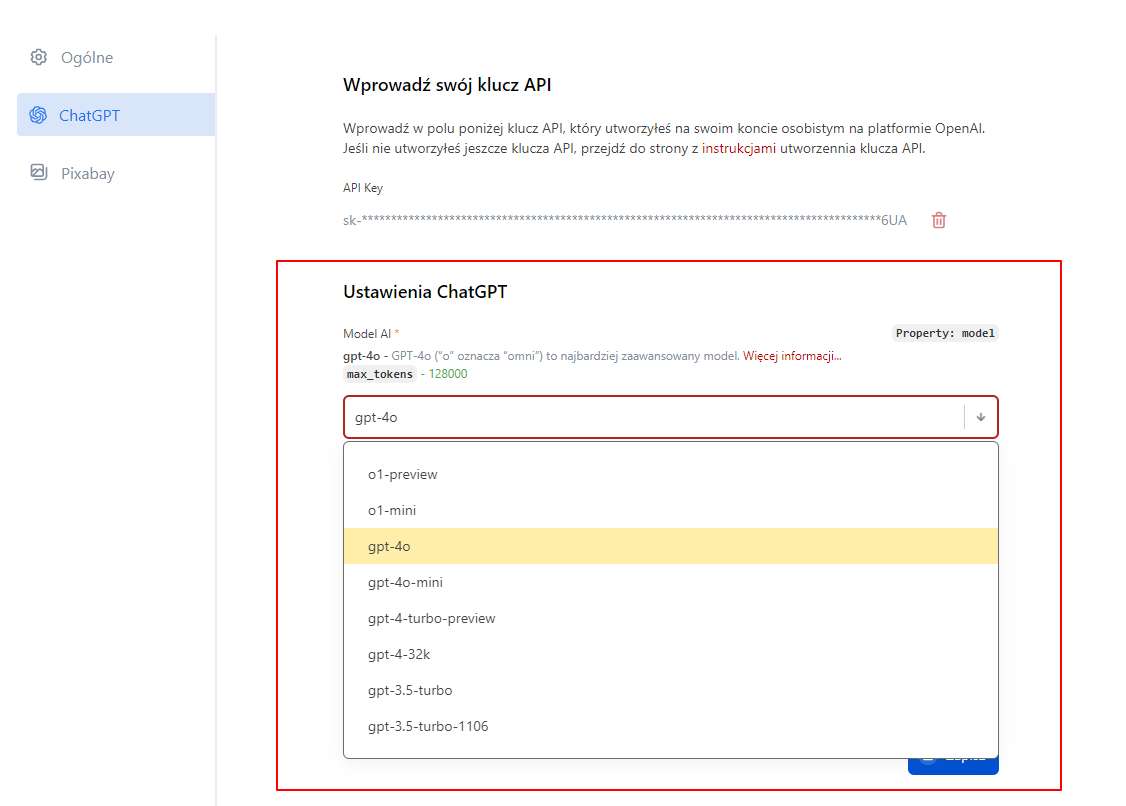
However, when creating chatbots, you can always set an individual model for each of them:
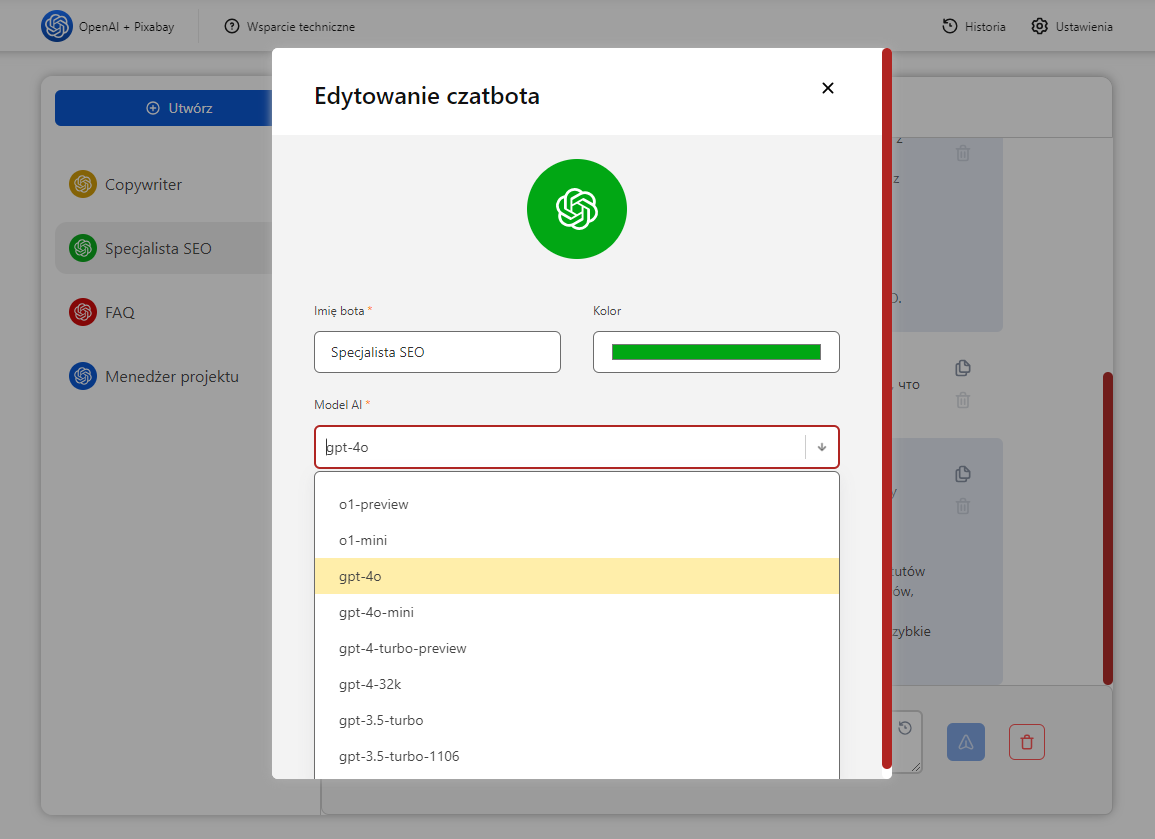
Important! The latest bot models may have limitations! More information about the latest API limitations can be found in OpenAI articles.