

Guide o wtyczce "Brands PRO"
Configuration guide for plugins "Brands PRO"
1. Purchase and install the plugin using "Installera".
2. Settings plugins are available at the following link: Shopy-Script -> "Plugins" -> "Brands PRO". All brands will appear in a separate tab.
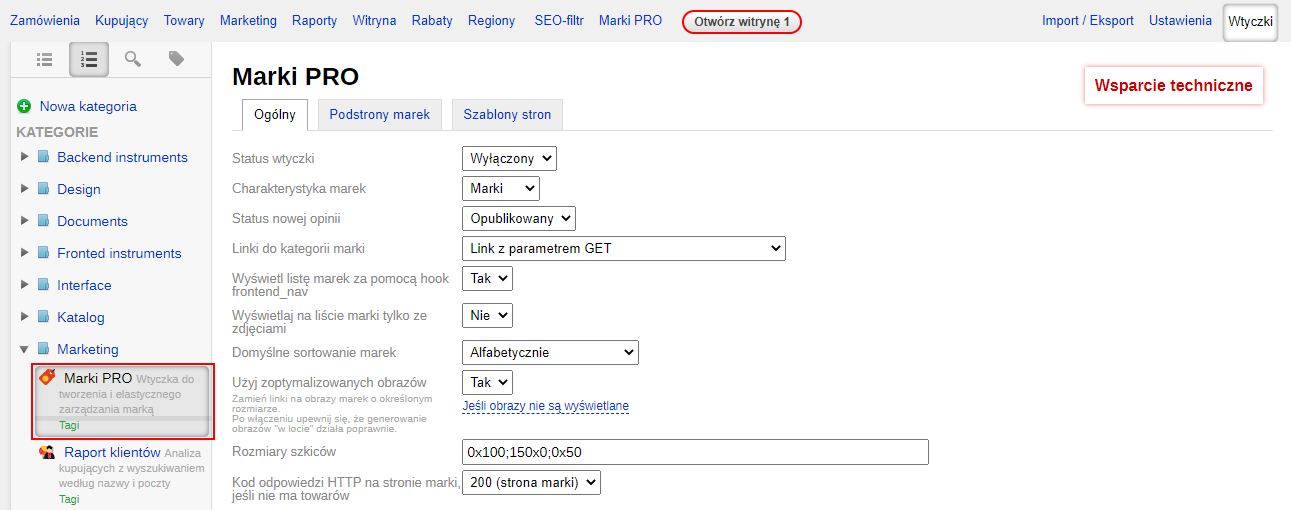
Enable the plugin.
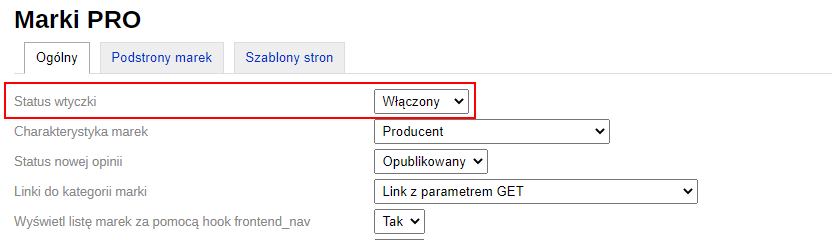
Select the property that will be responsible for brand output.
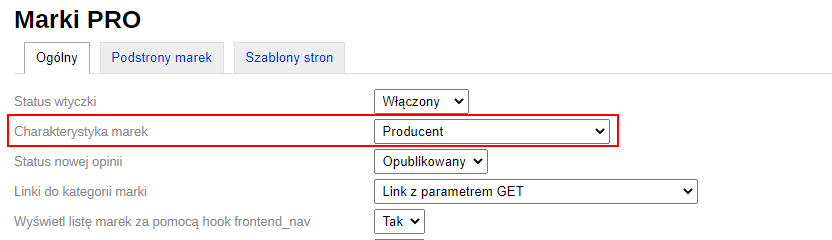
* This is a product property whose values will be displayed as a list of all brands. It is usually named "Brands", "Manufacturer", etc.
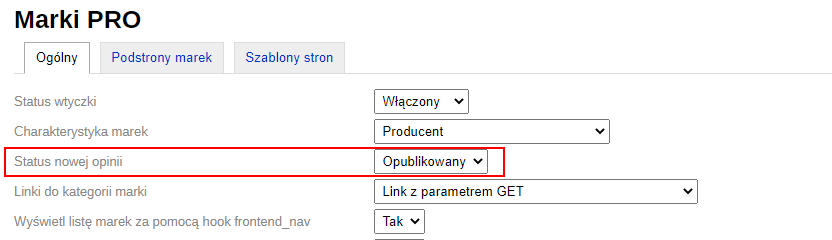
Select the status for a new brand review:
- Published (the review will be visible immediately after submission by the user);
- Under moderation (the review will become visible only after approval by the administrator).
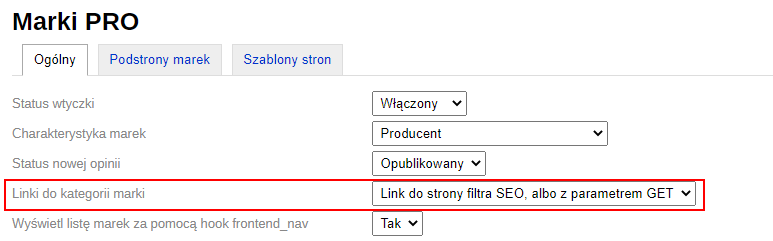
Select the link format for the brand category:
- GET parameter link (on the brand page, category links will have the form mysite.com//computers/?brand[]=27);
- Link to SEO-filter page, or GET parameter (if a corresponding "SEO-filter" page exists, the link to it takes priority; otherwise, a link with a GET parameter will be used);
- Only SEO-filter page links (only existing "SEO-filter" pages are linked).
Check whether the brand list will be output via the frontend_nav hook.
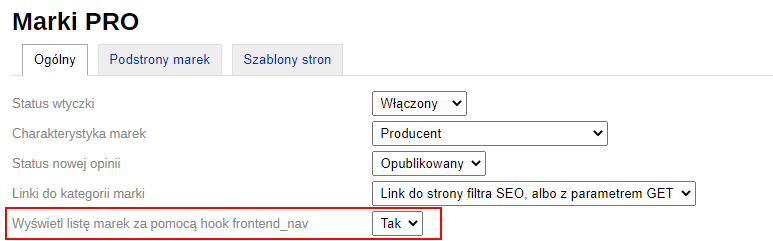
* In future updates, additional code will be added to the brand output to allow displaying the brand list in any location of the theme.
Meta Tag Templates
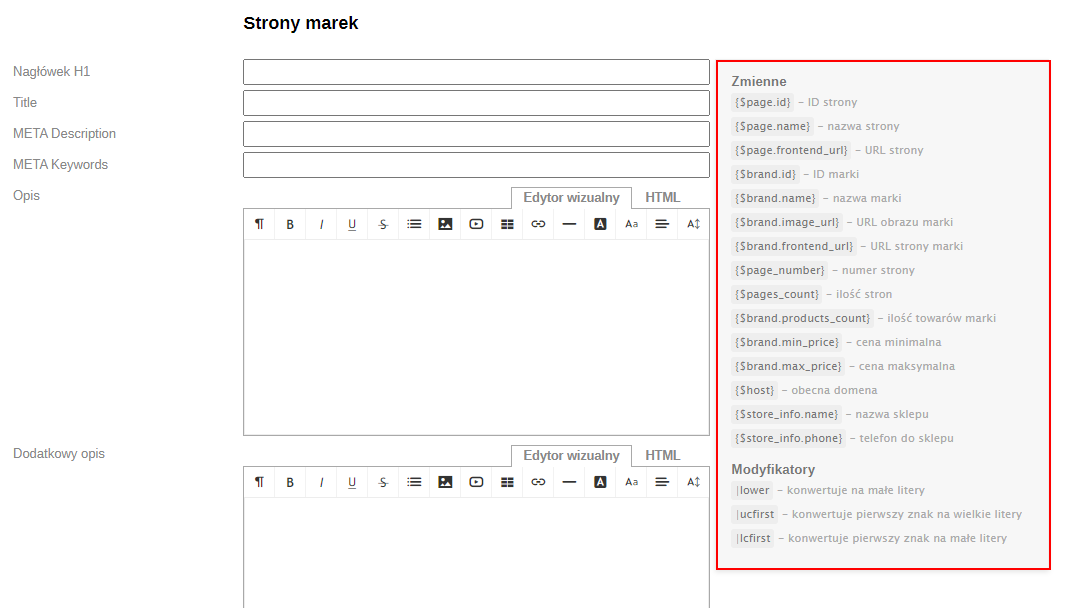
In plugins settings, you can add templates for meta tags and descriptions of brand list pages and the general page where all brands are displayed. To create templates, you can use variables from the right-hand column and modifiers.
Templates can be set for the following fields:
- H1 Header;
- Title;
- META Description;
- META Keywords;
- Description.
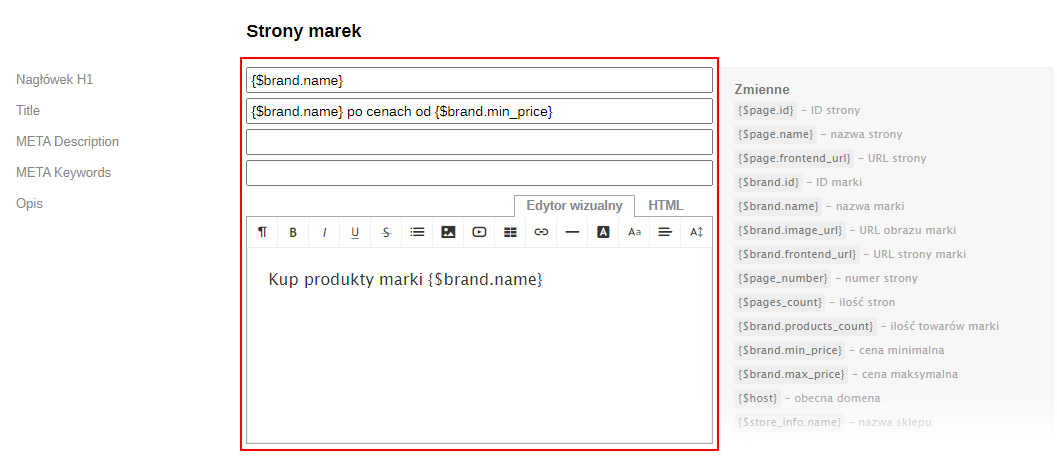
Example template:
If variables for brand pages are insufficient (e.g., if you want to additionally specify the country of origin), you can always create an additional field.

After saving changes, a new variable will appear. You can use it in the template.
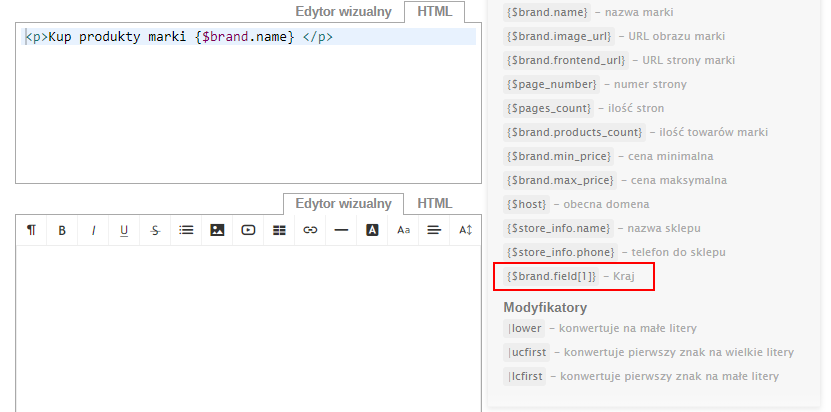
Example of using the "|lower" modifier with a variable in a template:

The modifier is added before the closing curly bracket without spaces.
plugins Options
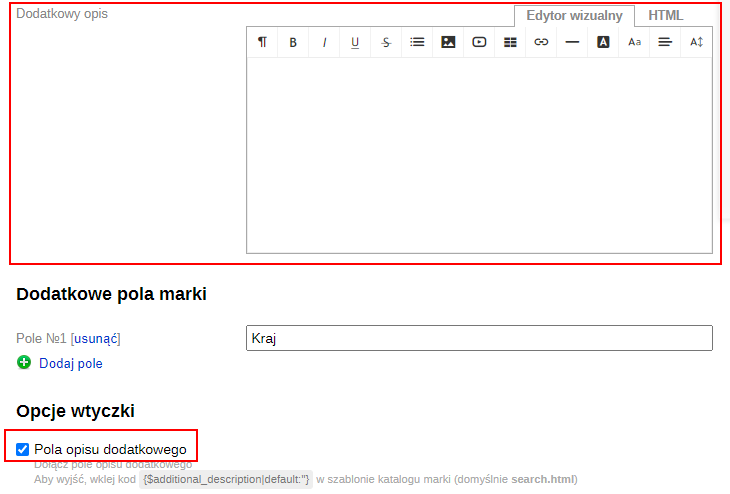
If you want to display an optional description field, you can also define its template.
To do this:
- Check the "Additional description fields" option;
- A "Additional description" form will appear, which should be filled in;
- Save the settings;
- Place the additional description variable {$additional_description} in the brand output templates (you can use design theme templates and plugin templates, see 2.3 for more information).
"Display product reviews under brand review" - this option displays product reviews of the brand left by buyers in the online store, shown below the brand review itself.

In this section, you can create subpages that will appear in every brand. On individual subpages, you can place various information: certificates, service centers information, etc.
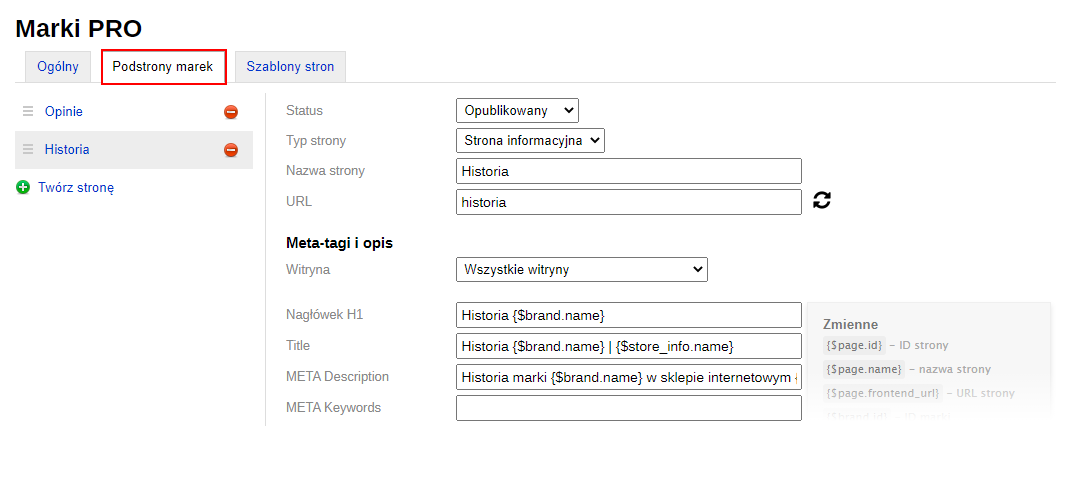
Creating a new page
- Click on "Create page".
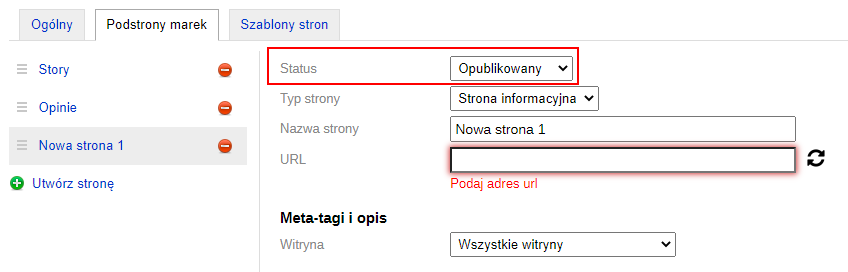
- Select the page status (published or draft).
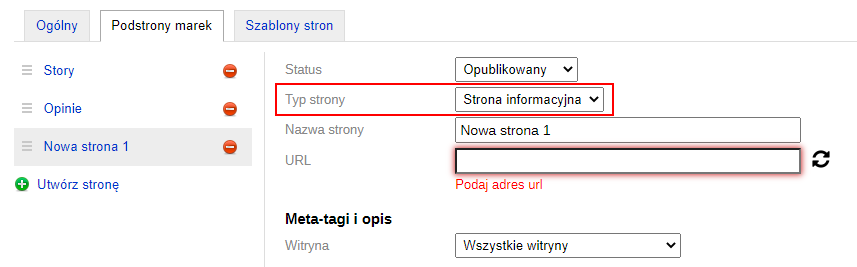
- Select the page type (pages with reviews or Information page). The difference between them is that the information page requires adding content, while the review page only displays a list of reviews.
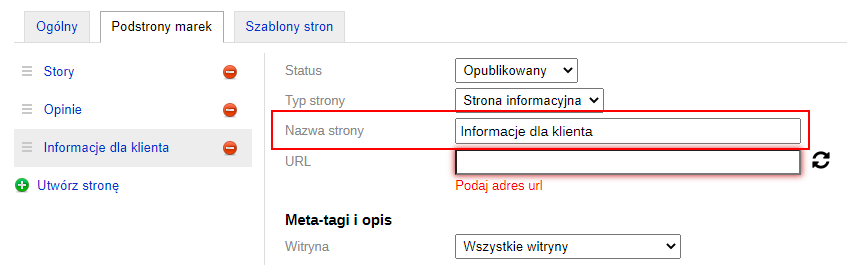
- Specify the page name.
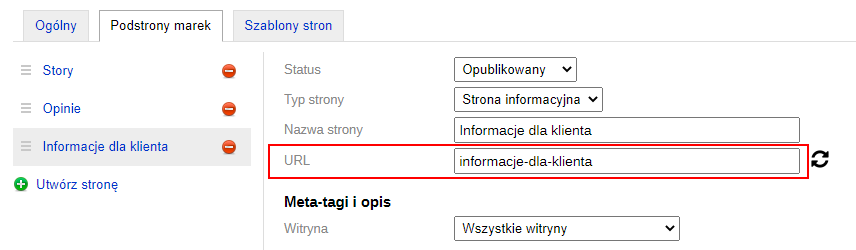
- Enter your own URL or generate it automatically.
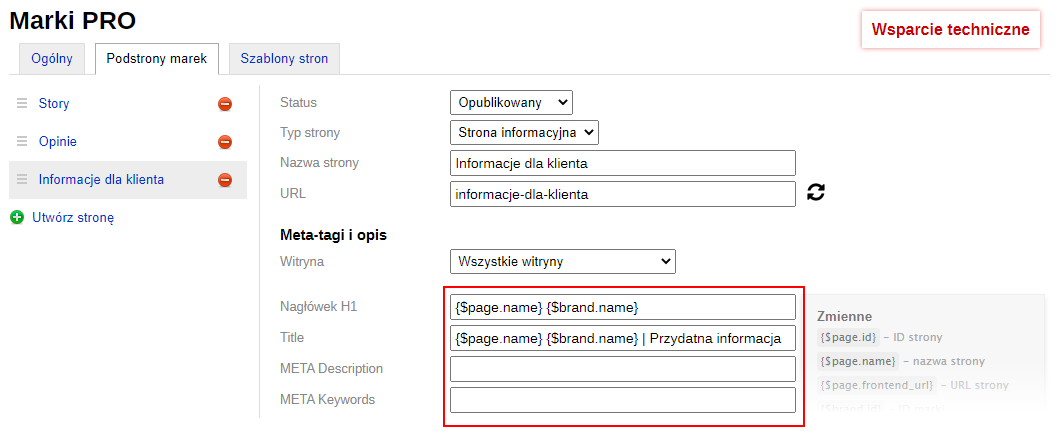
- Write meta tags (if necessary, select the storefront website). Possible variables are listed in the dropdown on the gray background on the right side of the form.
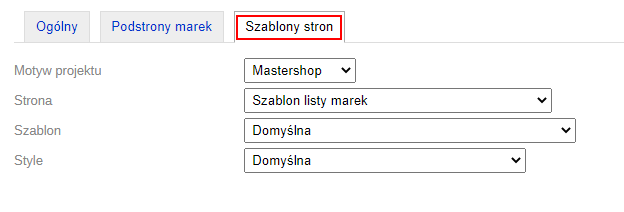
Warning! This section is intended for users with layout skills. Make changes only if you understand what you are doing.
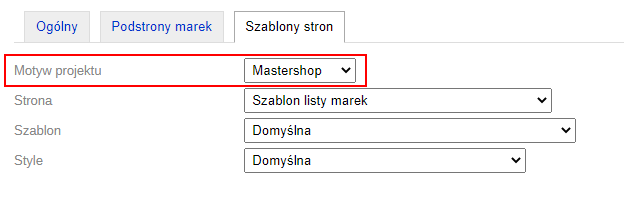
Select the website theme you want to edit. By default, the website theme used on the main storefront website is selected.
Select the theme you want to modify.
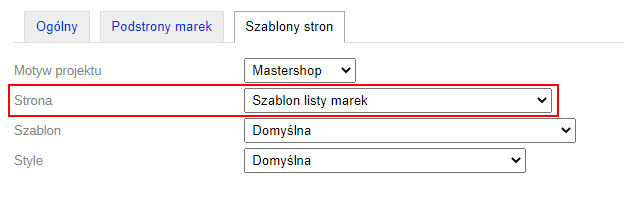
You can edit the following themes:
- Brand list theme;
- Page menu theme;
- Frontend_nav hook theme;
- General brand page theme;
- Brand page theme (Catalog);
- Brand page theme (Catalog) - header;
- Brand subpage theme (Reviews);
- Brand subpage theme (Information page).
Select a theme, for example, "General brand page theme".
To edit, select a specific file.
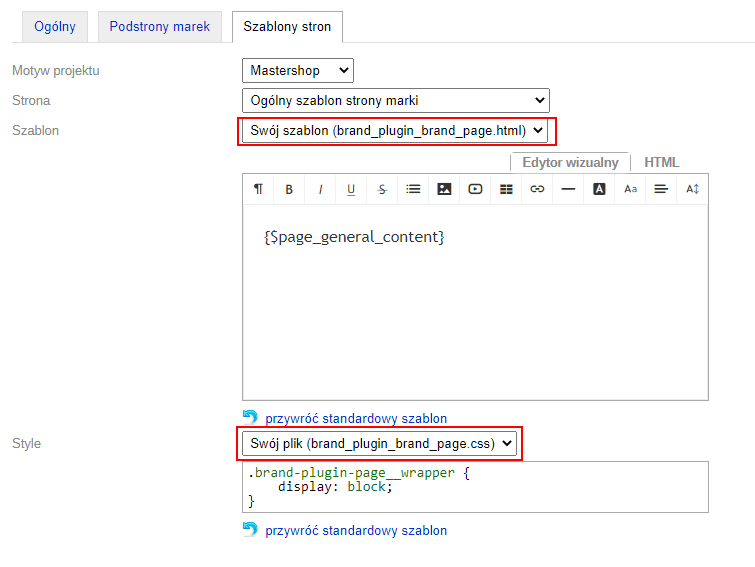
Make changes and save the plugins settings.
Go to the "Brands PRO" tab.
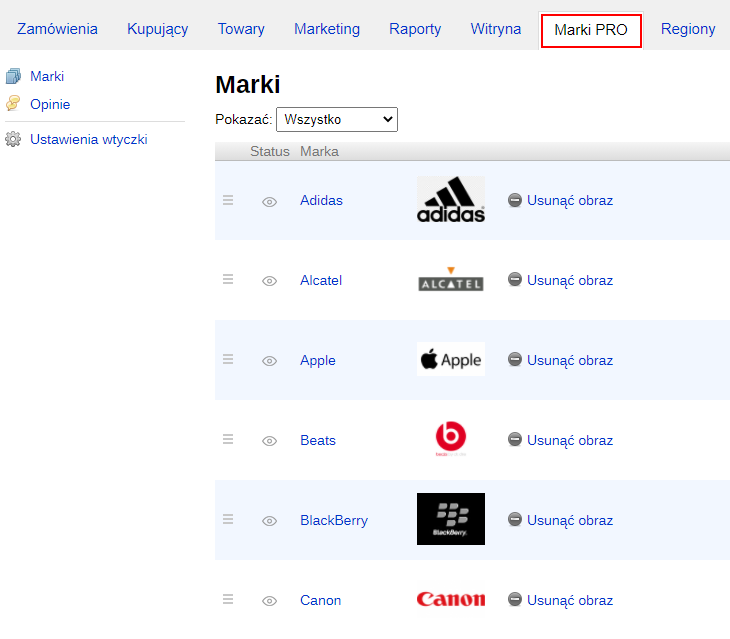
The brands list will already be displayed based on the feature specified in the plugins settings.
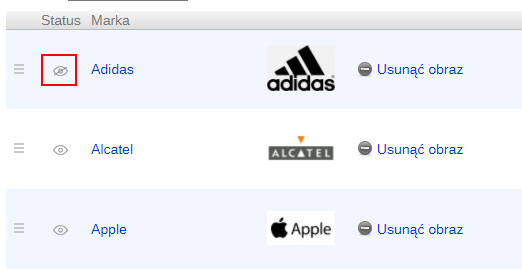
In the general list you can:
- Hide a brand;
- Add/remove a brand image.
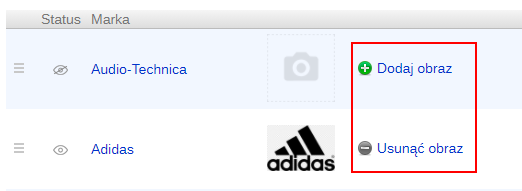
To edit brand settings, click the link.
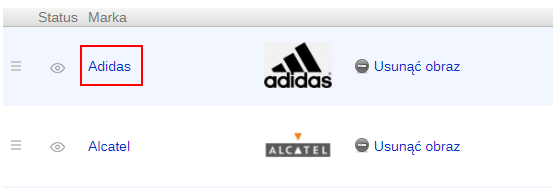
The brand page will open.
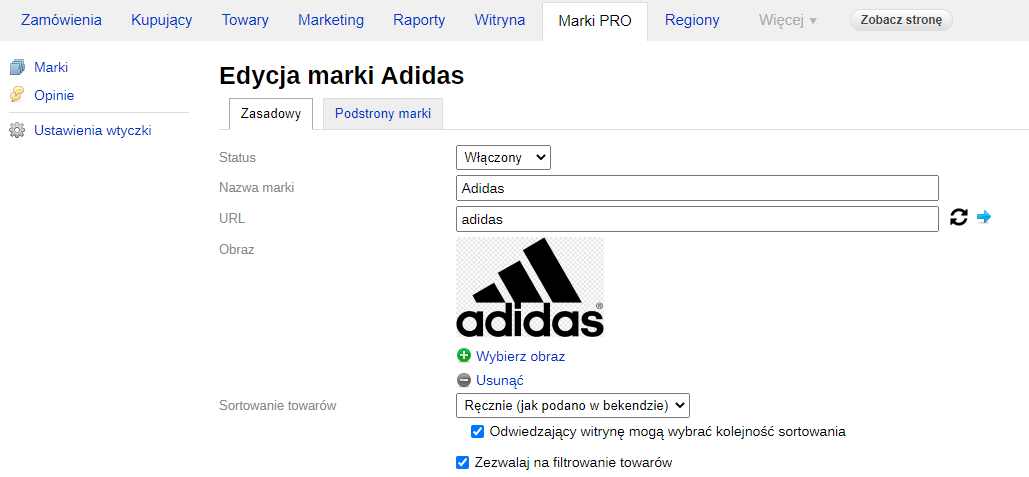
Each brand has 2 tabs - "Main" and "Brand subpages".
In the "Main" tab you can select/register the following settings:
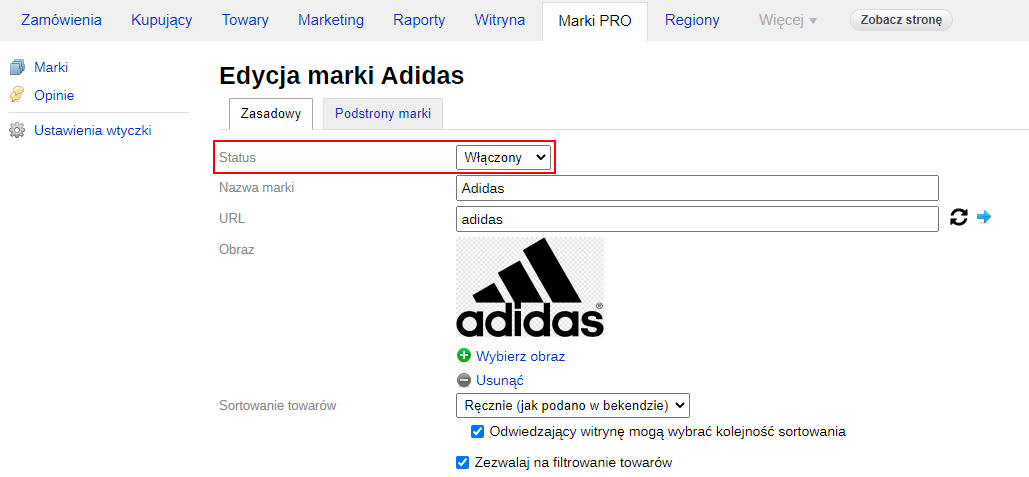
- Status (brand enabled/disabled);
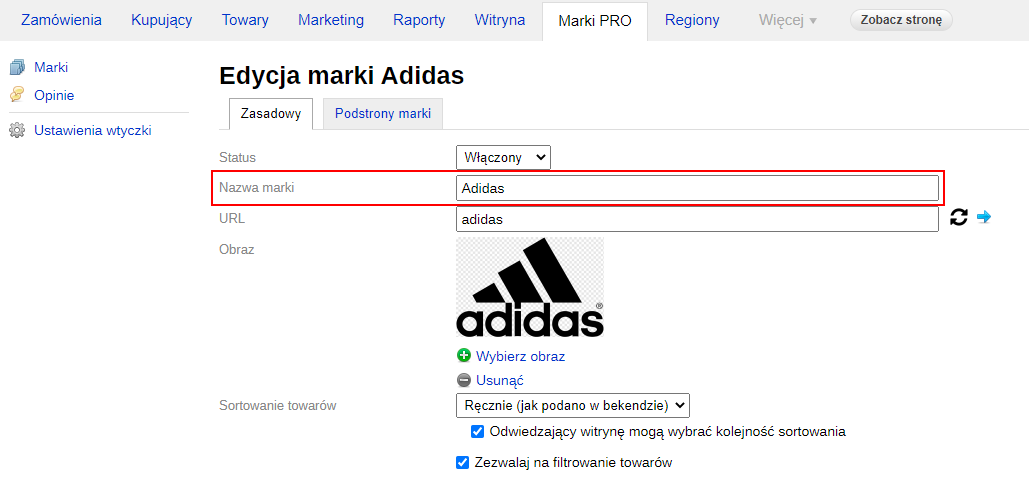
- Brand name;
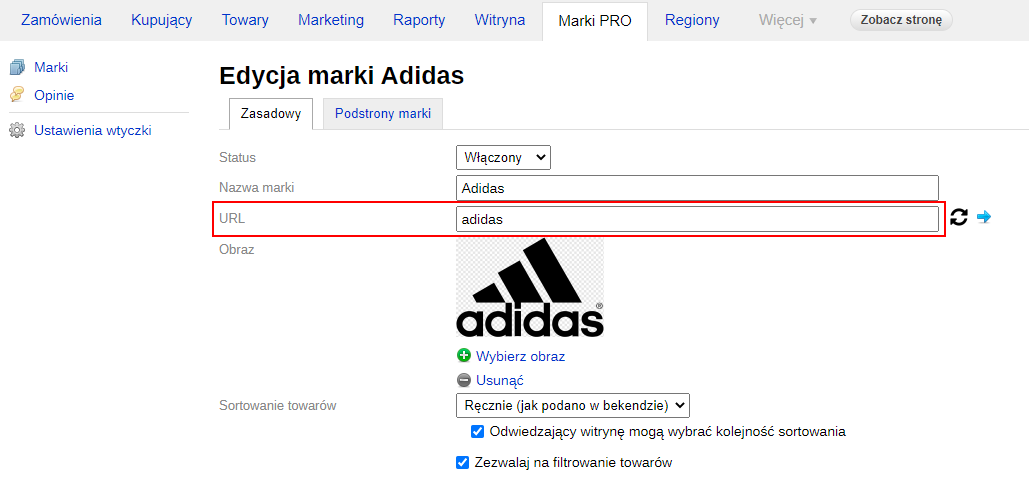
- URL (can be registered manually or generated);
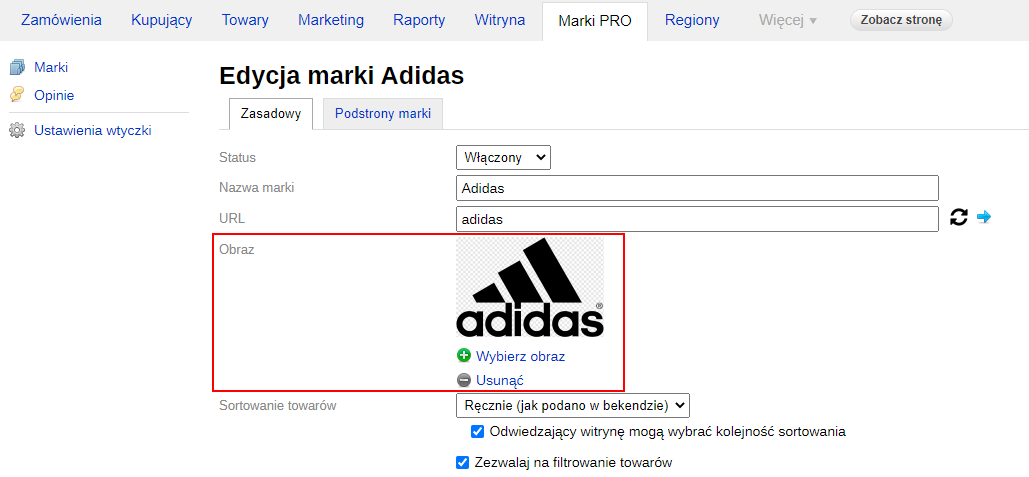
- Add/remove image;
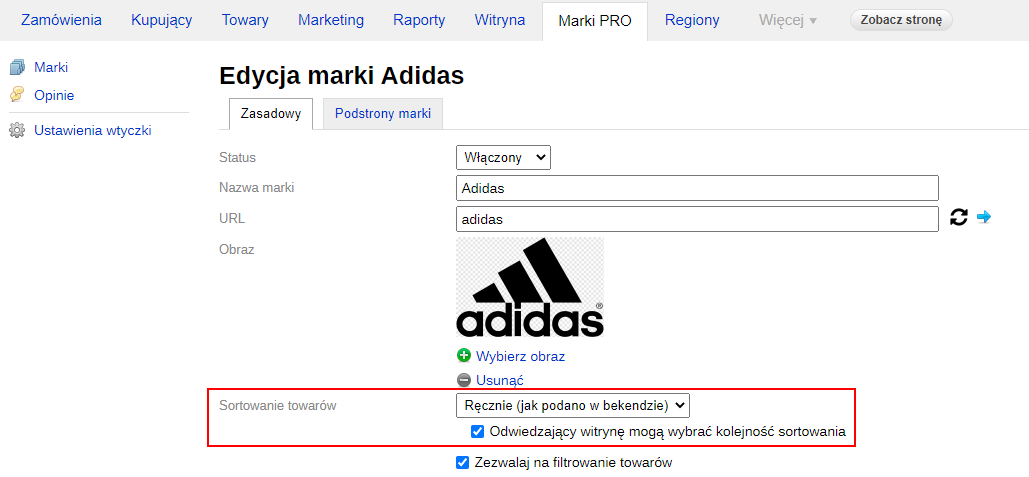
- Product sorting;
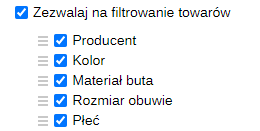
- Product filtering;
- Brand page meta tags;
- Values of additional fields.
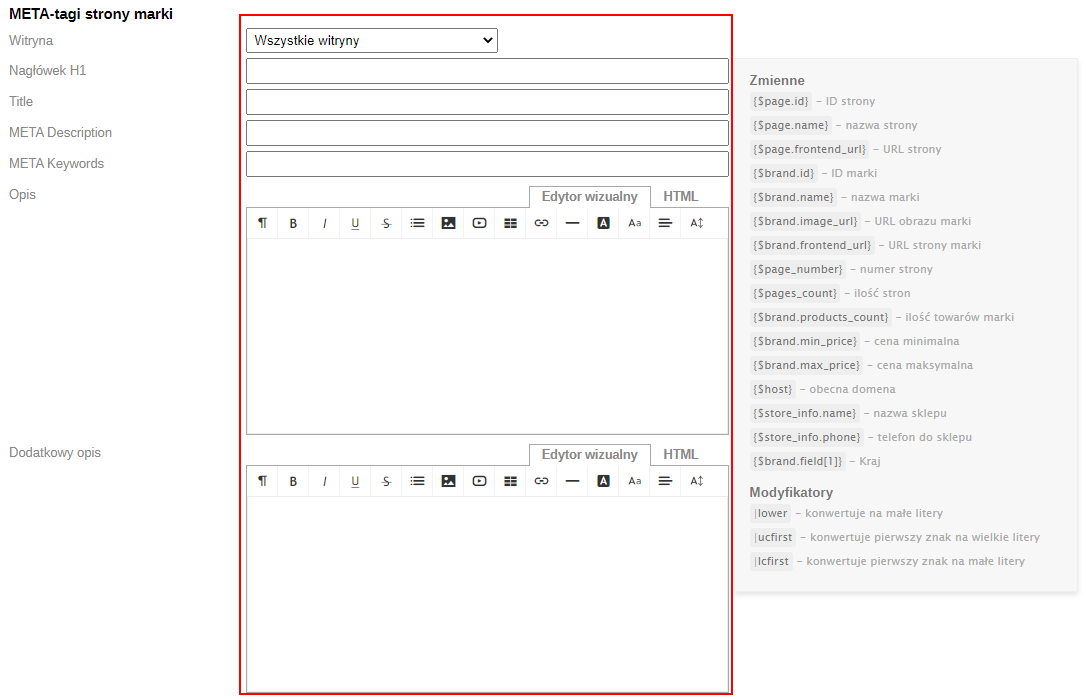

In the "brand subpages" tab, you need to fill in the information pages.
Important! If an information page is empty (has no content), the link to it from the brand page will not be displayed, and a 404 response code will be returned when accessing the URL directly.
Such a page is not visible on the site and for search engines:
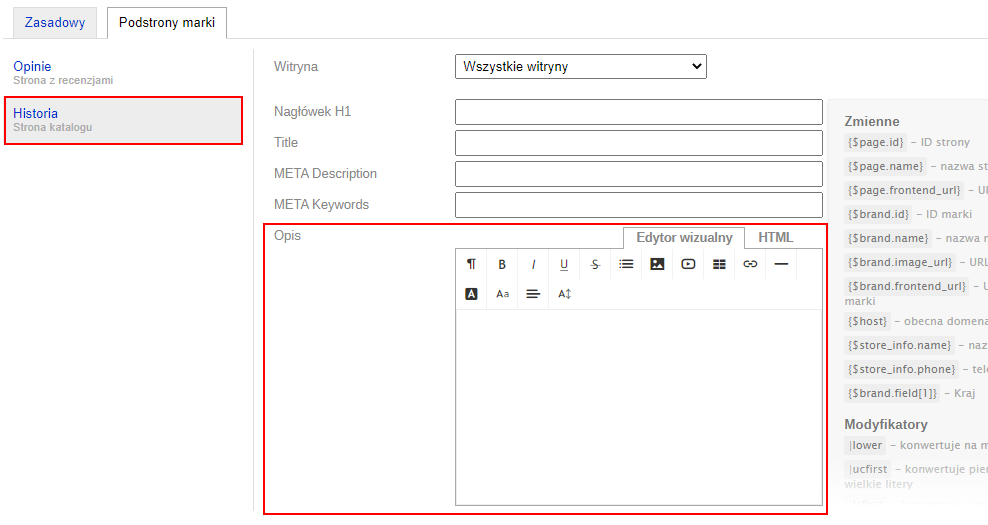
Reviews
In the "Reviews" section, all reviews of all brands are displayed.
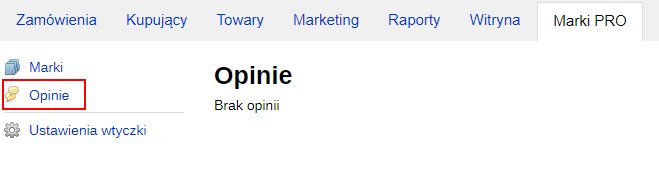
A review can be unpublished and restored to the website.
Starting from version 1.17.0, the plugin "Brands PRO" includes a brand information import/export feature.
This allows you to transfer brand data to a CSV file, make changes, and upload them back.
Note! This feature cannot be used to create or delete brands.
Note! This feature works only for "all storefronts".
Data to be exported to the CSV file:
- Id - system identifier
- Status - brand name hidden (0) or visible (1)
- Exists - brand deleted (0) or not shown (1)
- Name - brand name displayed
- URL - URL part for the brand page
- Sorting - product display order on the brand page, possible options:
- MANUAL - default
- NAME - by title
- PRICE_DESC - highest price
- PRICE_ASC - lowest price
- RATING_DESC - high rating
- RATING_ASC - low rating
- TOTAL_SALES_DESC - bestsellers
- TOTAL_SALES_ASC - lowest sales
- COUNT - in stock
- CREATE_DATETIME - date added
- STOCK_WORTH - asset value upon fulfillment
- Position - position in the brand list
- H1 Header
- Title
- Meta Description
- Meta Keywords
- Additional Description
Data that can be modified after importing the CSV file:
- Status
- Name
- URL
- Sorting
- Position
- H1 Header
- Title
- Meta Description
- Meta Keywords
- Description
- Additional Description
How to export or import brands?
1) Go to the "Import/export" section from the left menu in plugins
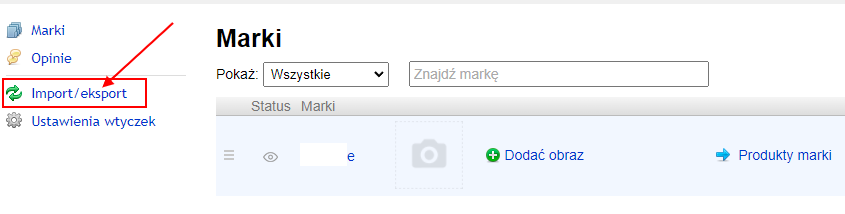
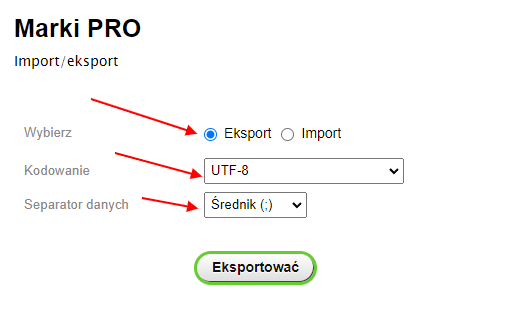
2) Select encoding and data separator. Click the "Export" button.
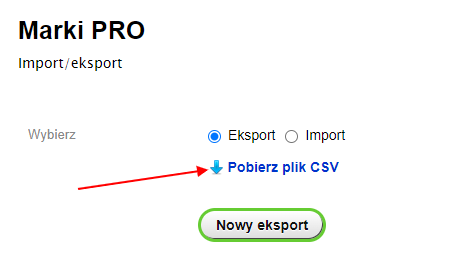
Once the data collection process is complete, you can access the file via the "Download CSV" link:
3) To import a file, select the encoding and data separator, and the file itself:
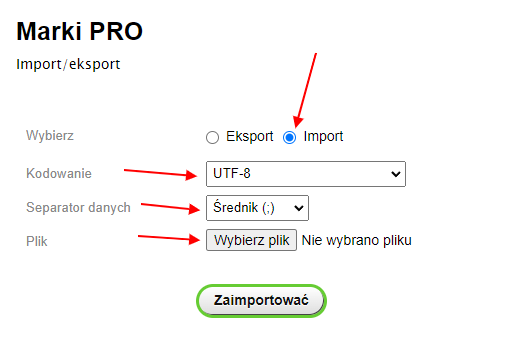
Click the "Import" button. Upon completion, a message will appear confirming the successful import.
These instructions present "helpers" or special constructs for retrieving information from the plugins "Brands PRO". They are primarily intended for technical specialists who have knowledge about the structure or enhancement of design theme code for the Shopy-Script application. Note that output examples are presented in a simplified form and should not be used in this format on your website.
Helpers work when you use them:
- in design theme templates
- in product descriptions
- in category descriptions
- on informational pages created in the Shopy-Script application
Helpers do not work:
- on informational pages created in the "Site" application.
Get brand by ID:
{shopBrandViewHelper::getBrand($brand_id)}
$brand_id in this case is the internal brand identifier in the plugin. You can see it in the URL when editing a brand
Example of retrieving information:{$product_brand = shopBrandViewHelper::getBrand(131)}
Retrieved data:
- $product_brand['id']
- $product_brand['name']
- $product_brand['url']
- $product_brand['image']
- $product_brand['description_short']
- $product_brand['product_sort']
- $product_brand['filter']['is_shown']
- $product_brand['filter']['enable_client_sorting']
- $product_brand['filter']['empty_page_response_mode']
- $product_brand['filter']['sort']
Display product brands
{shopBrandViewHelper::getProductBrand($product)}
Display all brands
{shopBrandViewHelper::getAllBrands()}
Display all brands with images (since version 1.1):
{shopBrandViewHelper::getAllBrandsWithImages()}
Get brand images of a specific size
{$brand->getImageUrl('970')}
Get a list of brands with products in stock (since version 1.20.0)
{shopBrandViewHelper::getBrandsWithProducts}
Get brand information on the product card (since version 1.17.0)
{shopBrandViewHelper::getBrandMainPage($product)}
For example, to display the brand description and additional description:
{$brand_page = shopBrandViewHelper::getBrandMainPage($product)}
{$brand_page.description}
{$brand_page.additional_description}
Get a list of brands grouped alphabetically
Helper:{shopBrandViewHelper::getGroupedBrands()}
Example of retrieving information
{$alphabet_brands = shopBrandViewHelper::getGroupedBrands()}
{foreach $alphabet_brands as $letter => $alphabet_brand}
  {$letter}
  {foreach $alphabet_brand['brands'] as $a_brand}
         {$a_brand['name']}
   {/foreach}
{/foreach}
Retrieved data:
Array => (
    *litera marki* => (
        'link' => *link to the anchor for the letter in the list of all brands*,
        'brands' => (
            'id' => ,
            'name' => ,
            'url' => ,
            'image' => ,
            'description_short' => ,
            'product_sort' => ,
            'filter' => (
                'is_shown' => ,
                'enable_client_sorting' => ,
                'empty_page_response_mode' => ,
                'sort' =>
            )
        )
    )
)
Display the template menu for brands grouped alphabetically
{shopBrandViewHelper::showGroupedBrands()}
Editing the template file is available in the plugins settings
Examples of using helpers
1. Displaying an image-link to the brand on the product card
{$product_brand = shopBrandViewHelper::getProductBrand($product)}
{if $product_brand}
 <a href="{$product_brand.frontend_url}">
  {if $product_brand.image_url}
   <img src="{$product_brand.image_url}" alt="{$product_brand.name|escape}">
  {else}
   <span>{$product_brand.name|escape}</span>
  {/if}
 </a>
{/if}
2. Displaying links to all brands
{foreach shopBrandViewHelper::getAllBrands() as $brand}
 <a href="{$brand.frontend_url}">{$brand.name|escape}</a>
{/foreach}