
InPost integration o wtyczce "InPost"
Integration guide for connecting plugins with InPost API
To create access to the ShipX API on your own, follow the steps below:
1. Go to the Parcel Manager website https://manager.paczkomaty.pl/ or you can initially configure everything on the test site https://sandbox-manager.paczkomaty.pl/ (to do this, you need to enable "Test mode" in the plugins settings):
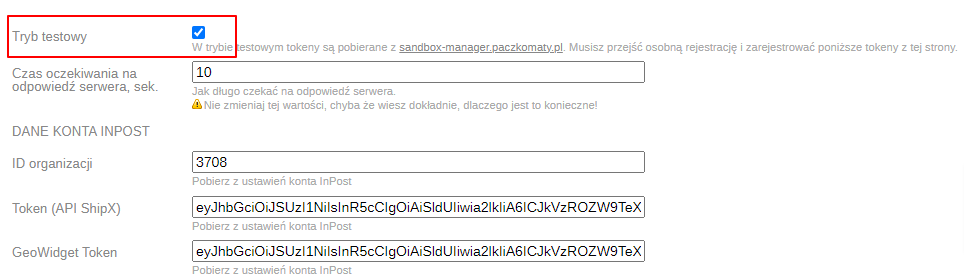
However, remember to change all tokens and organization IDs when switching to a live account. The following instructions are identical for configuring both test and live accounts.
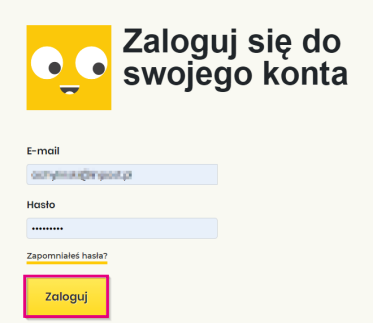
2. In the login window, enter your login and click: Log in
3. After logging into your account, go to the "My Account" tab:

4. In the menu below the "DATA" button, verify that all company details are correctly filled in.
Attention! Remember that to generate API access, both company address details and invoice details must be completed.
5. After verification, proceed to the new tab under the "API" button:
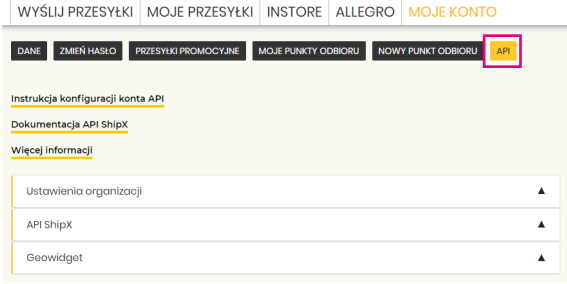
This section provides a completely new panel for managing access to API ShipX and Geowidget.
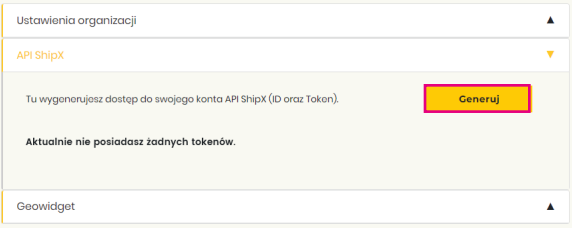
6. To generate new access to API ShipX, expand the API ShipX tab and click "Generate":
7. An additional window will appear, allowing you to generate access with a prompt asking whether you have a courier contract customer number (the number is located on the contract or can be obtained from your Account Manager):
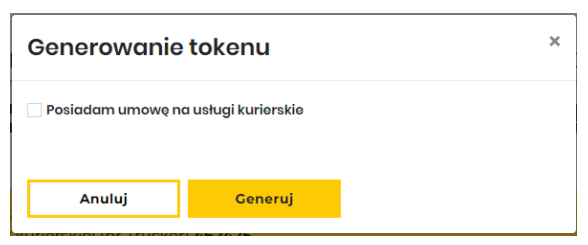
Attention! If you have a courier contract, check the checkbox, enter the customer number in the text field, and then click "Generate".
The number is located on the contract or can be obtained from your Account Manager.
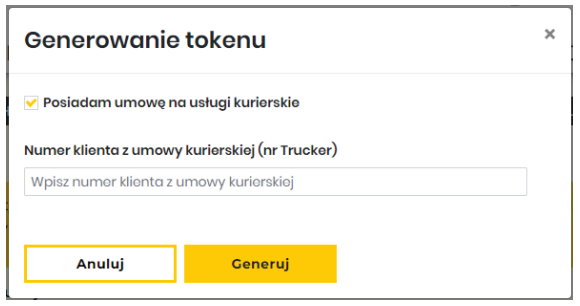
If access is to be generated only for parcel locker services, click the "Generate" button without entering additional data. The system will create API access based on the information in the "Data" tab.
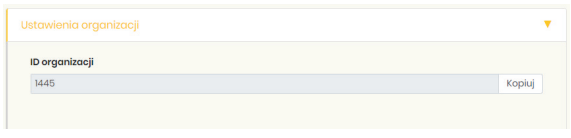
8. In the "Settings organization" tab, the "Organization ID" will appear:
9. In the "API ShipX" tab, the "Token" will appear. To copy it, click "Show token":
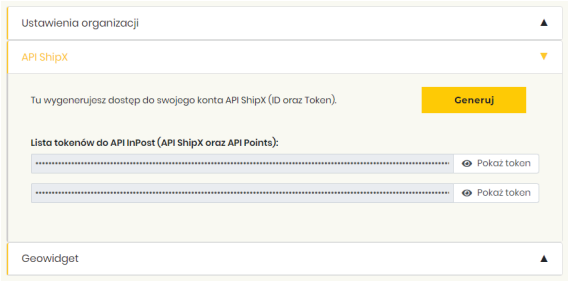
You can generate up to 10 tokens, which will appear on the list.
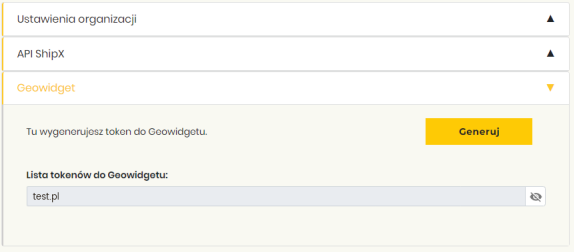
10. To generate new access to Geowidget, expand the "Geowidget" tab and click "Generate":
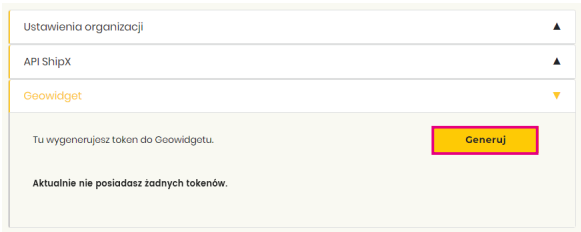
11. An additional window will appear, allowing you to add domains that will be supported.
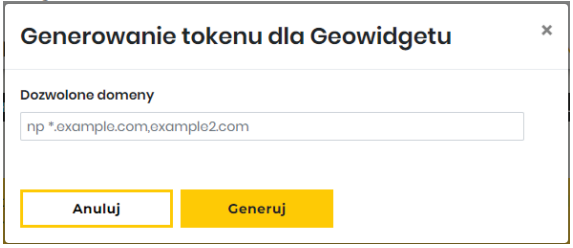
Remember to add your domains; otherwise, shipping methods will not be displayed correctly in your online store!
12. In the "Geowidget" tab, a token will appear:
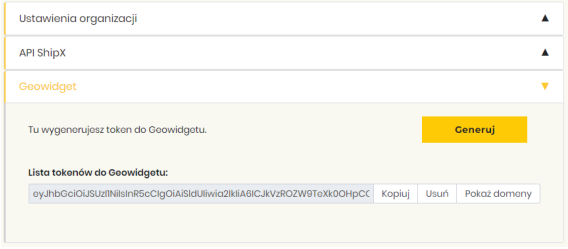
13. To view the list of available domains for the token, click "Show domains":
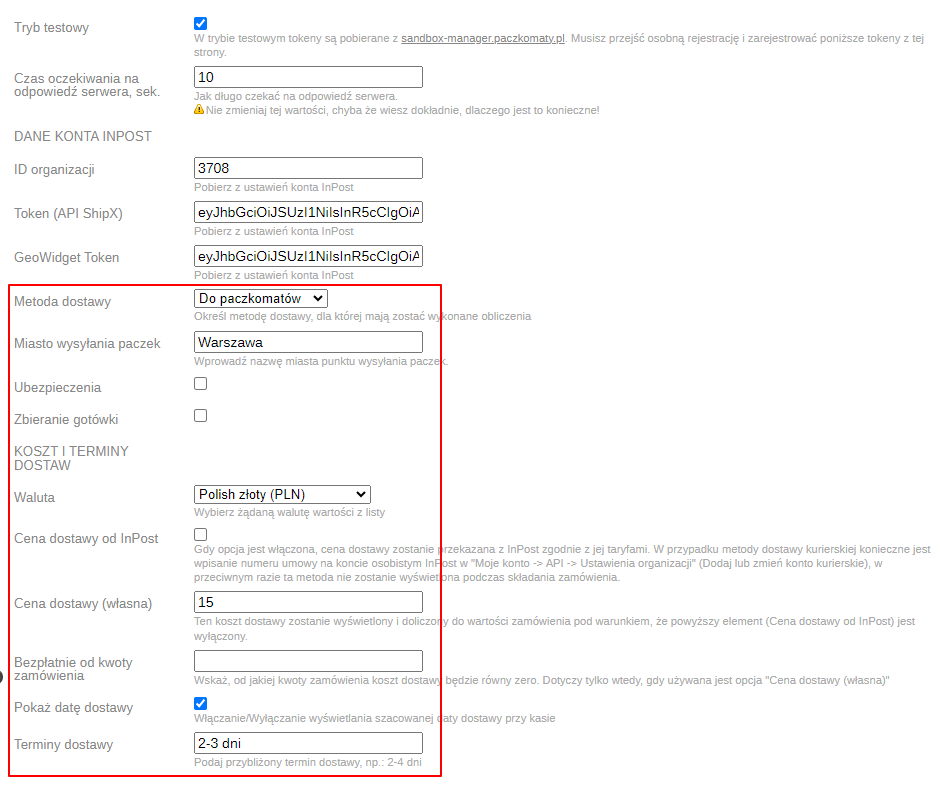
14. That's all! Now simply copy the generated tokens and organization ID and paste them into the appropriate fields in the plugins settings:
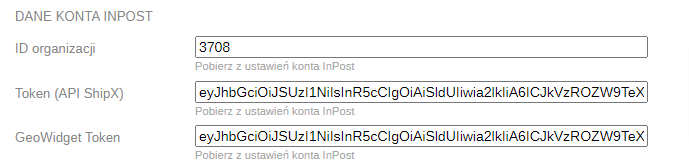
and also fill in other plugins fields: